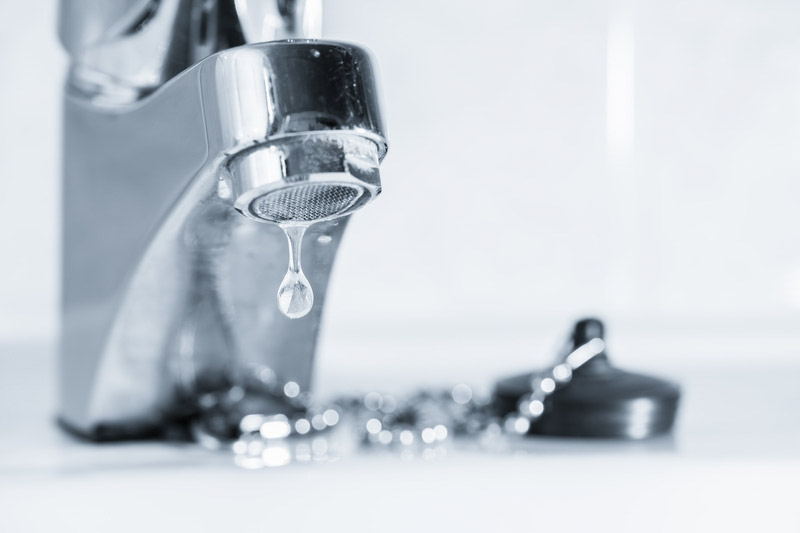
How to Fix a Leaky Faucet: A Step-by-Step Guide
A leaky faucet is a common household problem that can lead to wasted water and higher utility bills. Fortunately, fixing a leaky faucet is a relatively simple DIY task that you can tackle with a few basic tools and a little know-how. In this guide, we’ll walk you through the steps on how to fix a leaky faucet, saving you time and money.
Step 1: Identify the Type of Faucet
Before you begin, it’s important to identify the type of faucet you have. The four main types are:
- Compression Faucets: These have separate handles for hot and cold water.
- Ball Faucets: Commonly used in kitchen sinks, they have a single handle that controls a ball mechanism.
- Cartridge Faucets: These can have one or two handles and use a cartridge to control water flow.
- Ceramic Disk Faucets: These have a single lever over a wide cylindrical body.
Step 2: Gather Your Tools and Materials
You’ll need the following tools and materials to fix a leaky faucet:
- Adjustable wrench
- Screwdriver (Phillips and flathead)
- Replacement parts (O-rings, washers, cartridges, etc.)
- Plumber’s grease
- Teflon tape
- Bucket and towels
Step 3: Turn Off the Water Supply
Before you start, turn off the water supply to the faucet. Look for the shut-off valves under the sink and turn them clockwise until they are fully closed. If you can’t find the valves, you may need to turn off the main water supply for your home.
Step 4: Disassemble the Faucet
Place a bucket under the sink to catch any water that might drip out. Use the screwdriver to remove the handle of the faucet. For compression faucets, you’ll need to remove the screw on the handle and then pull off the handle itself. For ball, cartridge, and ceramic disk faucets, you may need to unscrew a decorative cap or remove a small set screw.
Step 5: Inspect and Replace the Faulty Parts
- Compression Faucets: Check the rubber washers and O-rings inside the valve seat. If they are worn out or damaged, replace them with new ones.
- Ball Faucets: Inspect the ball, springs, and seals. Replace any worn or damaged parts with a ball faucet repair kit.
- Cartridge Faucets: Remove the cartridge and inspect it for damage. Replace it if necessary.
- Ceramic Disk Faucets: Check the seals and the ceramic disk. Replace any damaged parts.
Step 6: Reassemble the Faucet
After replacing the faulty parts, reassemble the faucet by reversing the steps you used to disassemble it. Apply plumber’s grease to the O-rings and other moving parts to ensure smooth operation. Use Teflon tape on the threads of the screws to prevent leaks.
Step 7: Turn On the Water Supply
Once the faucet is reassembled, turn on the water supply. Slowly open the shut-off valves under the sink and check for leaks. Turn on the faucet and let the water run for a few minutes to ensure everything is working properly.
Step 8: Test the Faucet
Check the faucet for any drips or leaks. If the faucet is still leaking, you may need to disassemble it again and check for any parts you might have missed or improperly installed.
When to Call a Professional
If these steps are too difficult or the faucet is still leaking, it may be time to call a professional plumber. Some issues, such as corroded valve seats or complex internal damage, might require specialized tools and expertise.
Armstrong Plumbing is here to help with all your plumbing needs. With over 35 years of experience, our team of licensed professionals can quickly and efficiently fix any plumbing issues you may have. Whether it’s a leaky faucet or a more complex problem, you can trust us to get the job done right.
📞 Contact Armstrong Plumbing today at (602) 418-1446
By following these steps, you can fix a leaky faucet and prevent water waste, saving you money and protecting your home from potential water damage. Remember, regular maintenance and prompt repairs are key to keeping your plumbing system in top shape.


